So, you may get a shiny new quadcopter for Christmas and you’re itching to fly it outside? Don’t. You’ll wreck it. Seriously. Much like Ralphie in “A Christmas Story” who believes that there’s no chance he’ll “put out his eye” with a new Red Ryder B.B. gun, you too believe you can fly your drone. You and Ralphie have a lot in common and just like him you’ll immediately “put out your eye” and be sorry that your drone is broken.
Take this advice, leave it in the box, spend another $25, and learn to fly first.
Learn to fly, on a cheap drone
Flying a quadcopter isn’t about reaction time. It’s about constant, tiny, adjustments, that you learn to do with muscle memory. If you’re scared of crashing your drone, you’ll never learn properly. That will then mean you never actually learn to fly it, and so you’ll have wasted this wonderful experience.
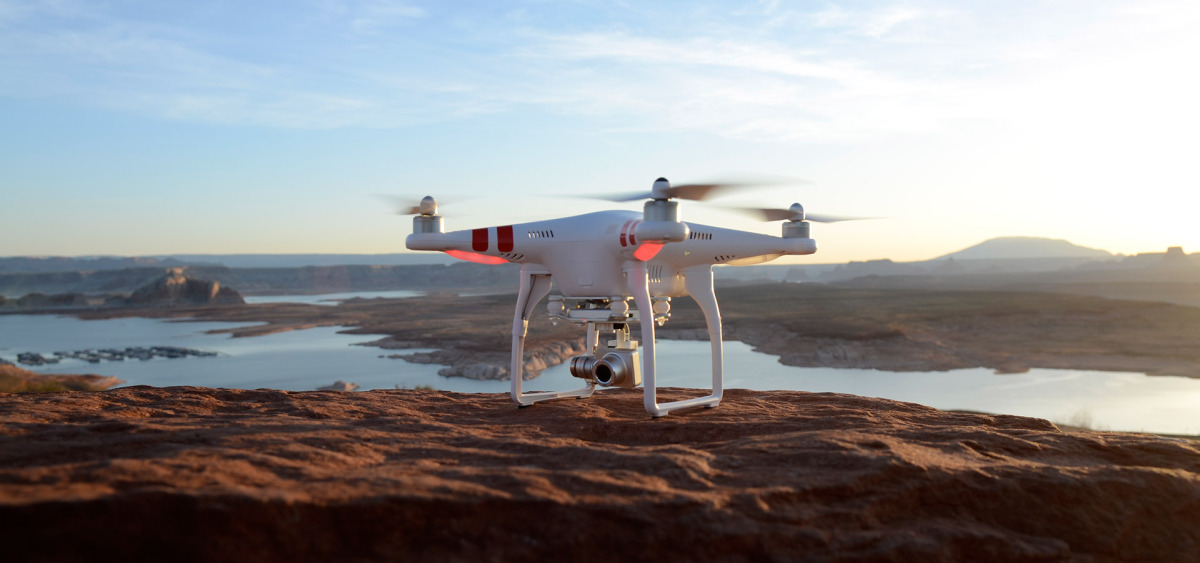
A couple years ago, I desperately wanted the DJI Phanton II Vision+. I got one. The moment it arrived, I was scared to take it out of the box. This thing was expensive and I was going to be flying it outside. I had no idea how to fly a drone, so I Googled it. I then read some forum posts and the best advice I got was: Learn to fly on a cheap drone.
Off to Amazon.com and I found the Soma X1 4 Channel 2.4G Quad Copter for about $25 (I got the Bumblebee, but it’s gone up quite a bit in price). This is a VERY basic, super cheap, quadcopter. However, all of the basics are the same and once you’ve learned to fly this one, you’ll be better prepared to fly your more expensive one.
What’s the secret to learning to fly? Don’t fly it. I made a mistake when I first got my Bumblebee drone and took it outside to fly it. That was a disaster, it was impossible to control, crashed constantly, and I got frustrated (as did my best friend Todd who also got one).
That’s when I stumbled on the right way to learn to fly…
Hovering
Clear off your Dining Room table (or any large table) and set your drone down, facing away from you. Now slowly add some throttle so that it goes up ONLY TWO INCHES (2″). That itself is going to be hard until you get used to it, but this is teaching you throttle control. The other thing you’ll quickly learn is that just because you gave enough throttle to go up 2″, it won’t stay there. The drone will tend to climb higher, or fall lower, just a bit. Learning to make small, fine, adjustments to the throttle to keep it hovering 2″ off of the table will teach you what it takes to manage a constant height.
Why 2″? Because at only 2″ off of the table, you won’t damage your drone when you crash it (and you will). It will just drop 2″ and land, or if you get carried away and go higher, you’ll drop the throttle entirely and you won’t damage it as it just drops down on the table.
You’ll also now see that it drifts one way or the other, away from you or towards you, so you’ll also need to start making small, fine, adjustments, rapidly, to keep it in one place. That’s the goal of this step: keep your drone hovering, in one place, only 2″ off of the table. Keep at it until you can keep it in one place, not drifting, and not gaining or losing altitude.
Drift is a fact of life with drones, but if you find that your drone is constantly "pulling" in one direction, you should be able to "trim" the controls to correct this and make hovering easier. Check your owner's manual for how to trim your drone.
This is a learning process, it won't be glamorous, but it will go quicker than you think.
Spend at least 20-60 minutes on this stage.
Basic Movement
Now that you can reliably hover your drone in one spot, 2″ off of the table, it’s time to add a little bit of movement.
Start moving your drone around the table, but still keep it at just 2″ off of the surface.
Practice covering the whole surface area of the table, but avoid taking it off of the table (the drop in air resistance will cause the drone to drop slightly, and you may not recover right away). When you can keep the drone at 2" and move it around the table reliably, you're ready for the next step.
Spend at least 30-60 minutes on this stage.
Traveling
You are now ready to take the drone off of the table and move around the room. The easiest way is to practice transitioning from the table to the room, adjusting the throttle slightly when it moves off of the table. You'll also want to follow it, so you maintain your comfort around "forward", "backward", "left", and "right". Once you're moving around the room, head back to the table and land.
Landing is very important, but it's hard to practice before you're actually moving around a room. However, you need to learn to land softly without causing damage to your drone.
Between both traveling and landing, spend at least 60 minutes getting comfortable in this stage.
Outside
You are now ready to head outdoors, deal with wind, obstacles, people, and "unlimited" height. Take it slowly, but have fun. You may think you're done at this point, but there's more...
Spend at least an hour flying around outside, practice landing, and taking off from the ground.
Advanced Flying
If you want to progress further in your flying adventures and have better control of your drone, here are some exercises you can perform to improve:
Flying Square
Fly away from your current position for a specific count, start small. Stop and hover, then move right for the same count. Stop and hover, then come backwards for the same count. Stop and hover, then move left for the same count. You should be close to your starting position. Practice this until you can reliably finish in the same position you started.
Flying Square, alternate
Now it's going to get weird, and MUCH harder. You're going to do the same Flying Square as above, but when you hover, you're going to adjust the drone's position, rotating to the right. This means you'll always be going "forward" relative to the direction the drone is facing in order to make the square. You'll always be making "right turns", and you'll always be going "forward" so it's not too bad.
When you get the hang of it, try it in reverse, making "left turns" instead of right.
Focus on YOU, fly a circle!
You've now mastered a different perspective with the drone. You'll now keep the drone focused on you in the middle and fly a circle around you, keeping the drone pointed towards you. If you want a slightly easier version, try focusing on a single object and flying around it.
Graduation
Time to move up to your real drone. You'll find that it flies MUCH more easily than the cheap-o one you've been flying, but you'll also be more confident that you won't wreck it.