The Problem
If you’re in a corporate environment you probably have Windows OS servers. Those servers probably use a protocol to boot machines without an OS called PXE (Preboot Execution Environment). Here at the office, this is how we load the Windows OS on all of our desktops / laptops.
However, if you use Parallels Desktop on a Macintosh, you may want to have the same corporate image of Windows running in your Parallels VM.
Unfortunately, Parallels doesn’t offer a “Network Boot” option by default. So, what’s a Macintosh guy living in a Windows world to do?
The Solution
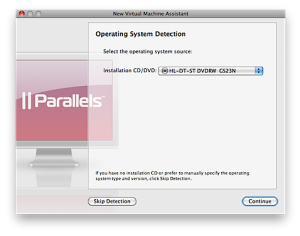
First things first, let’s create a new Virtual Machine (VM) to use as our base:
Leave the Installation CD/DVD set to the CD-ROM/DVD drive.
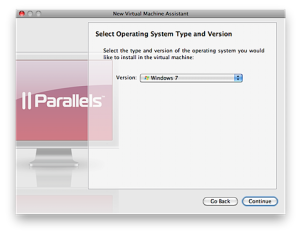
Next, select the Operating System Type you’ll eventually be booting:
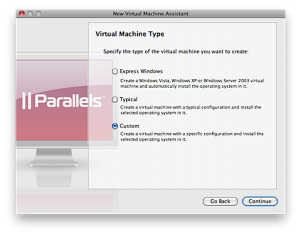
Select Custom as your Virtual Machine Type:
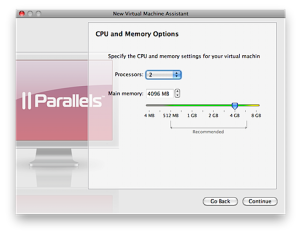
Set your CPU and Memory Options to whatever works for your image (you can change them later):
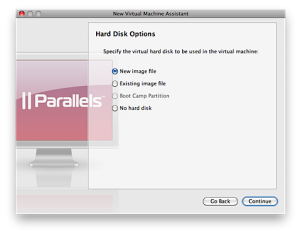
You shouldn’t have a pre-built image, so set Hard Disk Options to New image file:
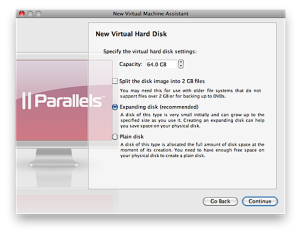
Set the New Virtual Disk to whatever you’d like (I use expanding disks):
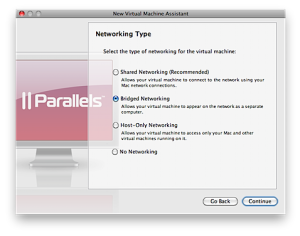
Set Networking Type to Bridged Networking (PXE boot will not work through Shared Networking):
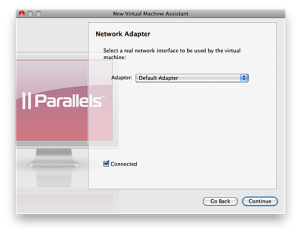
Set Network Adapter to an adapter that will be used for booting (I use Default Adapter to ensure it’s working):
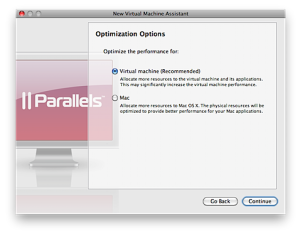
Set Optimization Options to whatever you’d like:
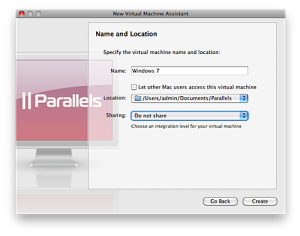
Name your installation and determine if you want to use Sharing:
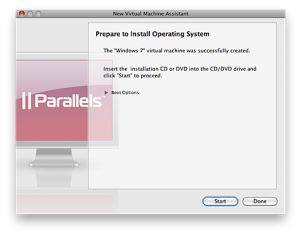
On the Prepare to Install Operating System screen, select Start to boot:
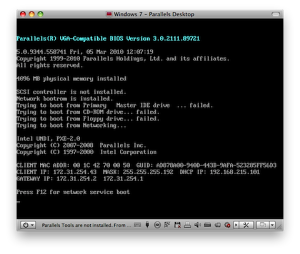
You will now PXE boot your installation, remember to hit F12 to get it to look for the PXE Server:
Note: By default, on a Macintosh, F12 has been bound to Dashboard. You can unbind it (which then allows you to actually type a F12 key to Parallels to get it to boot, by going into System Preferences | Expose & Spaces | Expose and setting Dashboard HIde and show to a different key (or none). Alternatively, you can just select F12 from the Devices | Keyboard | F12 menu choice in Parallels.
Parallels is now booting your network image, the rest is up to you.

