The Challenge
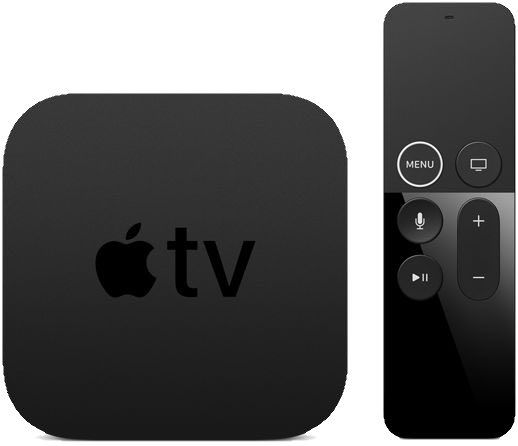
Recently my family and I went on vacation and stayed in a condo that had "Complimentary WiFi". We had packed our AppleTV because my son knows how to access all of his purchased movies (way too many) and it has my wife's and my current programming for the evenings.
Upon trying to set up the Apple TV on the WiFi network I ran head first into an issue. It was using a "captive portal" to access and the Apple TV has no method of logging into these types of network configurations. There's even an Apple Support article I found which states:
Apple TV can't connect to captive networks, which are networks that require an additional or secondary login. Captive networks can include free and pay networks in places like businesses, schools, dorms, apartments, hotels, and stores.
This immediately became a big concern with the family as we were counting on using it for our evening entertainment and wind down for my son. I had to figure out a solution and FAST!
The Solution
Enter Media Access Control (MAC) address spoofing. A MAC address is the globally unique ID that every device has when connecting to an ethernet-based network, which includes WiFi/Wireless networks. The MAC address is used to assign an IP address to your device during Dynamic Host Configuration Protocol (DHCP) configuration, which is how your device talks on the Internet. Captive portals work by authorizing specific MAC addresses to access a network. If a MAC address tries to access the network that has not been previously authorized, then it is redirected to a web page where the user can "log in" to the network (this log in can be as simple as a "Connect Me" button after reading terms and conditions, or as complex as filling out a form and using a username and password). Once the web site authenticates you, it places your MAC address in an "authorized" list of MAC addresses and you'll no longer see the captive portal when trying to access the network.
The trick here is to figure out a way to authorize the MAC address of your Apple TV on a system that can access a web page (there is no web browser on the Apple TV, so no way to interact with the captive portal). Fortunately, I had brought my Mac laptop with me on vacation and I could use it to "spoof" or mimic the MAC address of my Apple TV for the purposes of authenticating to the portal.
Here are the steps, which I performed on a 2020 16" MacBook Pro running macOS Big Sur (11.2.3), which was the latest macOS as I write this:
- Determine the MAC address of your Apple TV:
- With your Apple TV remote, navigate to the Settings icon and select it
- From the Settings menu, select General
- Under General, select Network
- Your MAC address will be next to Wi-Fi Address (now referred to as "ATVMAC")
- Write down this address, it will look like: ab:12:cd:34:ef:56 (it is case insensitive)
- If you have already connected your Apple TV to the wireless network, then unplug your Apple TV (it cannot be connected to the network for this to work), otherwise move to Step 3
- Option-click the WiFi icon in your menu bar, which will provide you a lot of information about your network, including your Interface Name (mine is en0) and your Address (now referred to as "MacMAC""). Note both of these for the next steps.
- Run Terminal on your Mac, which is found under Applications and then Utilities
- Issue the following command to confirm the MAC address of your Mac:
ifconfig en0 | grep ether(use the Interface Name from Step 3, mine was en0), if it does not match the MacMAC stop here and go back and see if you missed something. - If you are currently connected to the Wireless network from your MacBook, disconnect from the wireless without turning off your wireless card, this is done by
- Clicking on your WiFi icon, selecting Network Preferences...
- Clicking on the Advanced... button
- Selecting the current wireless network from the list
- Clicking the - sign to delete it
- This should then show your Mac searching for a Wireless network, do not join a network for the next step to work
- Spoof the MAC address on your MacBook to match the Apple TV with the following command:
sudo ifconfig en0 ether ATVMAC - You'll be prompted for your administrative password, enter it
- There will not be any output from the command, so check it by re-entering the command from Step 5:
ifconfig en0 | grep ether - If the output from the above command now shows your ATVMAC instead of your MacMAC, then proceed. If it still shows your MacMAC, go back to Step 7. You may have to repeat this a number of times before it is successful.
- Now that your MacBook looks like your Apple TV to the network, join the Wireless network and authenticate through the Captive Portal and ensure you have Internet access
- Once you're able to access the Internet using your ATVMAC, go back to Step 6 and follow the steps again, but now you're going to set your MacBook back to the MacMAC.
- Once your MacBook is back using your MacMAC, you can join the wireless again, confirm that everything is working
- Now power up your Apple TV and it should already be authorized on the network and work properly
While a 14-step process may look daunting to some, it's really not that bad of a process and should take under 15 minutes to get everything configured, online, and back to their original configurations.
Hope this guide helps you get even more use out of your Apple TV!
